Backpacking with Photography Gear
We all love to get out into the backcountry for many different reasons, but one of the primary motivating factors is the opportunity to experience stunning scenery in a pristine location. The best way to experience these vistas is in person, in the moment, and to lock them away in the memory bank for person enjoyment - however, if you’re like me, it’s easy to feel the call to share these beautiful scenes with other people. Sharing our favorite images of the wilderness can help communicate to others how precious our wild spaces are and show them why they are worth protecting.
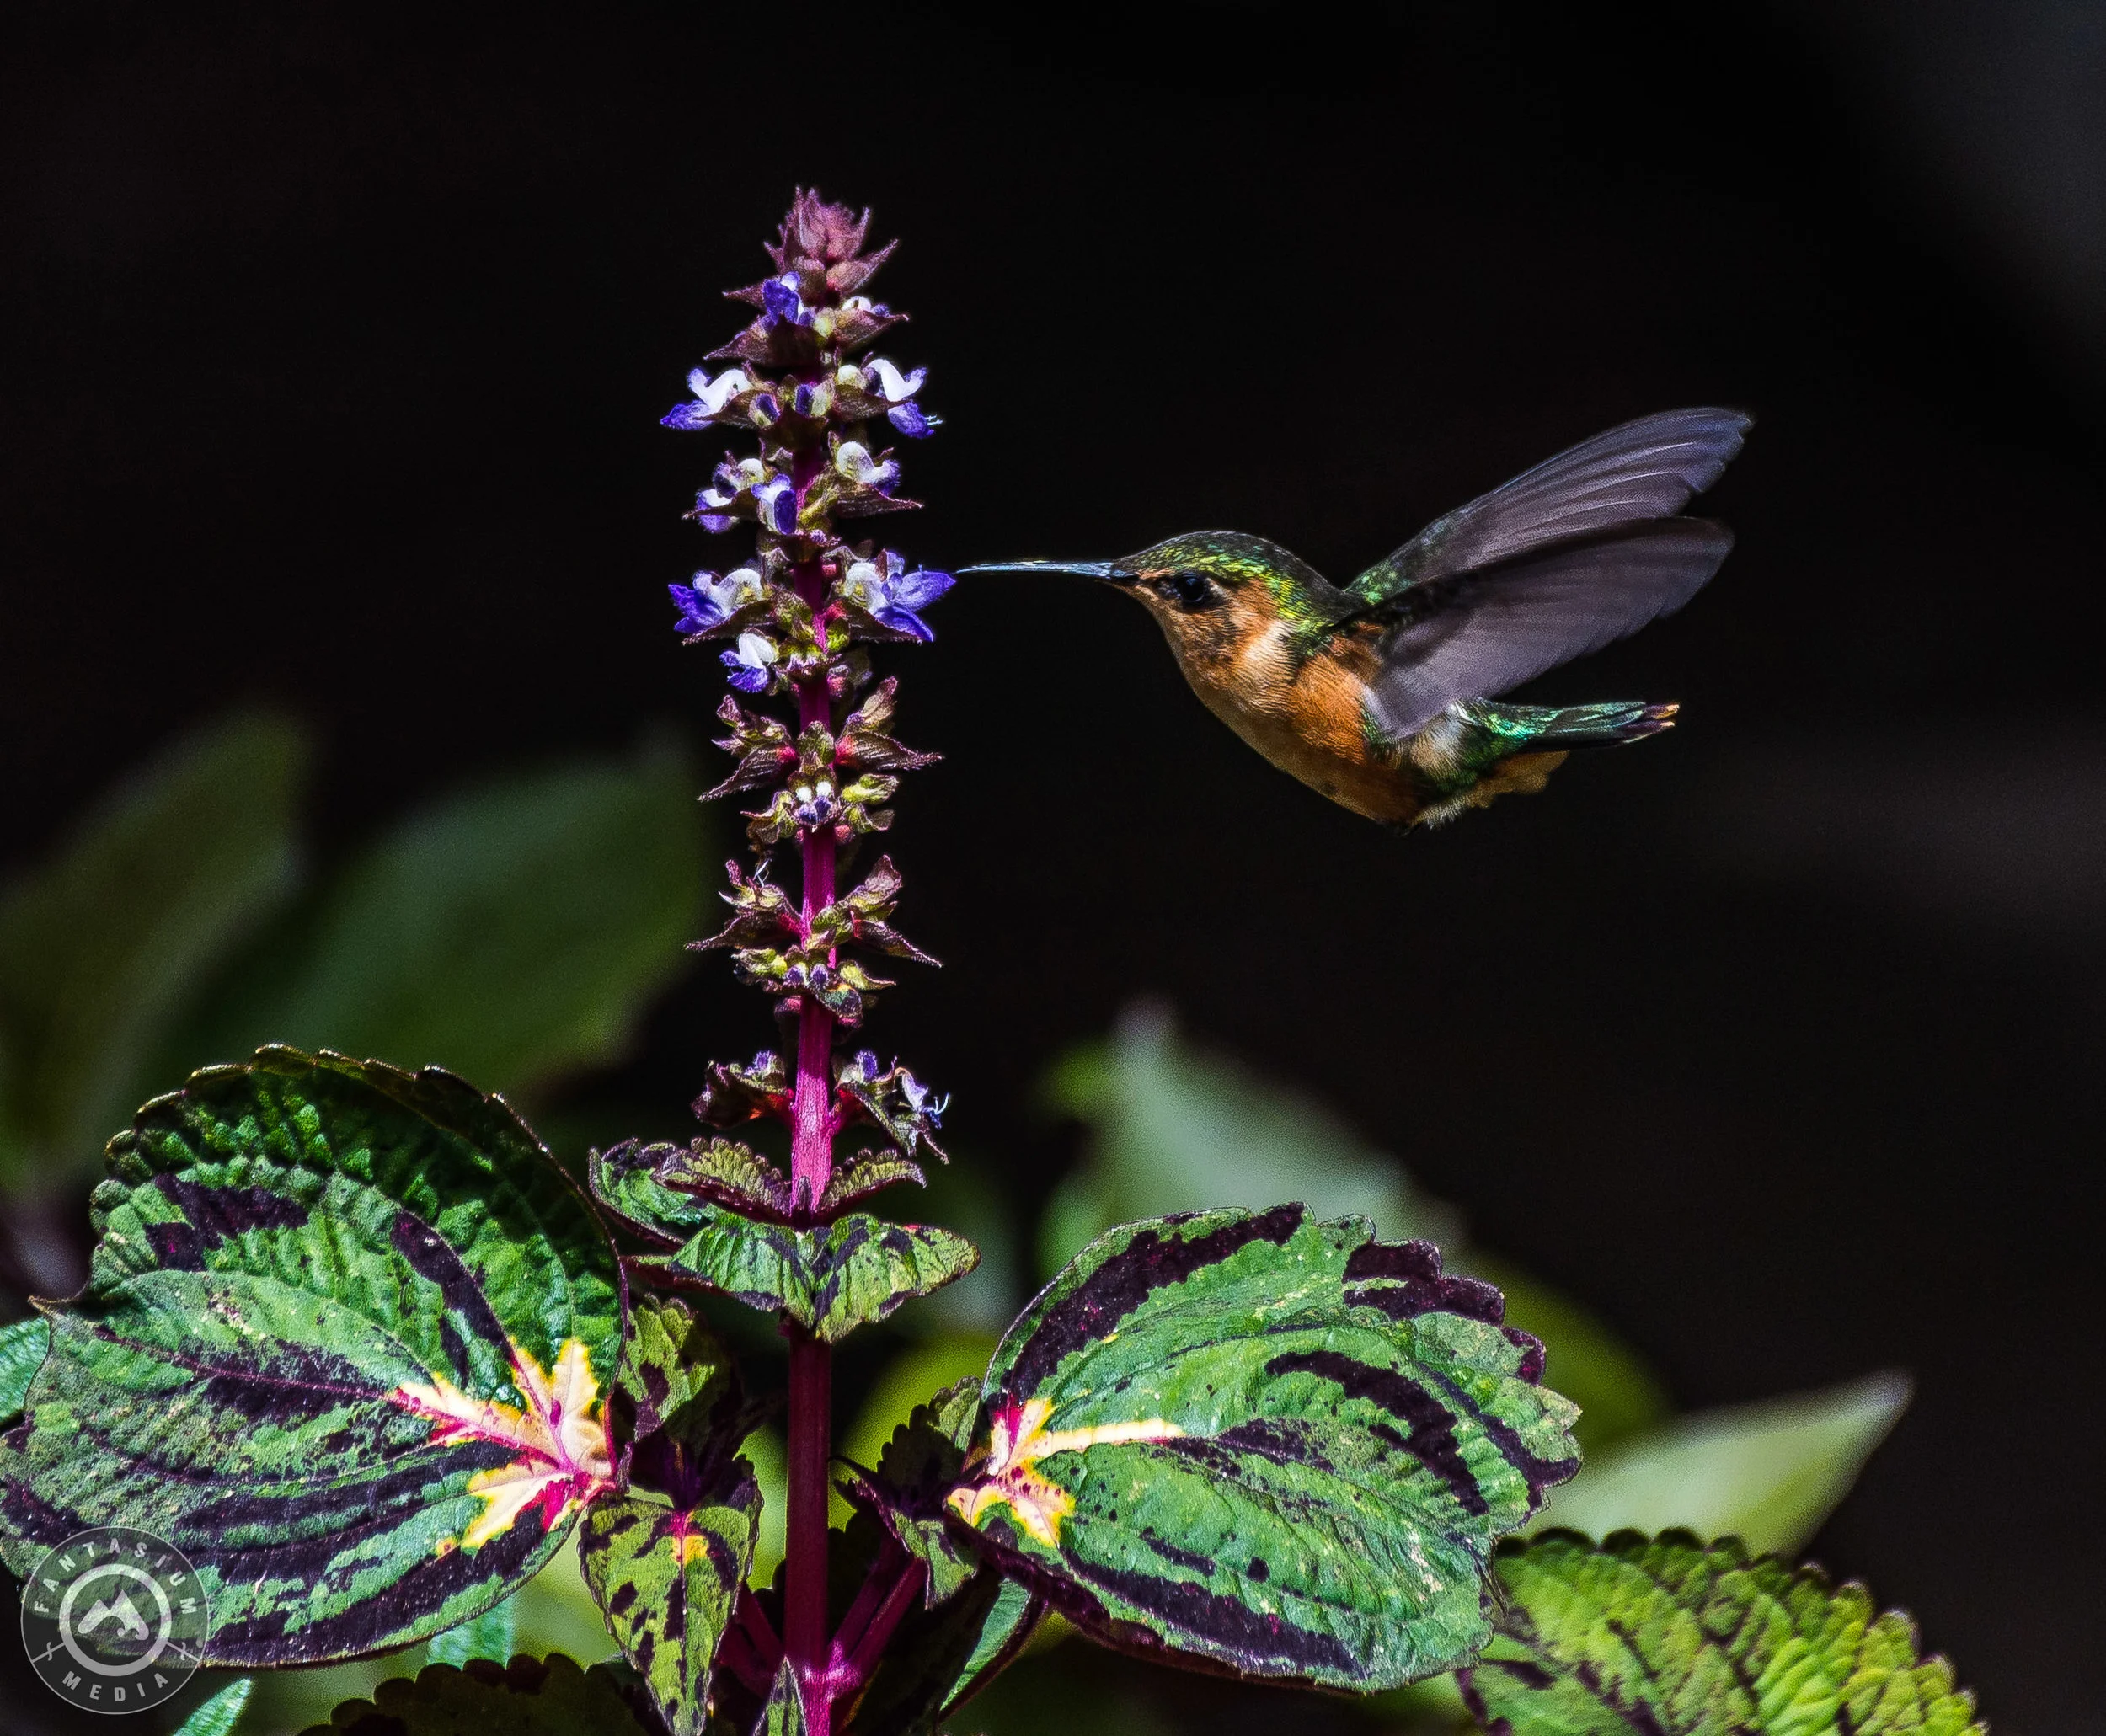
Try as they might, cell phones usually don’t do this stunning scenery justice. They do provide an easy to use lightweight option for shooting landscape photos, but a high quality camera will always do a much better job, especially if you hope to create large prints of your photographs later down the road.
If you have a hankering to haul your high quality photography rig out into the backcountry, there are a few tips and tricks that can not only help you do it in an efficient manner, but that can also ensure you don’t accidentally ruin your expensive equipment when you’re out in the wild.

Cell phones just don’t do scenes like this justice.
Table of Contents
Stay light

Keeping your gear light might seem obvious, and if you’re an experienced backpacker you likely already gone through this train of thought. It’s the single biggest thing that I still struggle with, which is why it’s the most important thing to consider when deciding what your approach to backpacking with your photography gear. There are tons of options and a wide variety of options that you can evaluate when building your backpacking gear list - it’s helpful to take a look at where you are, work with what you have, decide what your tolerance for added weight is, and decide what you want to do with your photographs from your trips. If you’re looking to keep some photos as memories, post on social media, and show your friends, a lightweight option probably makes more sense. If you plan on selling these photographs as prints or creating a display with your work, then carrying more gear is likely the only way to go.
Mobile phone photography
At one end of the spectrum, you have your cell phone. This will be your most cost effective, weight efficient option for shooting in the backcountry. If you don’t want to add any more weight to your pack and you don’t want to make any additional investments, this is the way to go. Just know that your options for printing later will be limited, and as you probably know, any zooming on a phone will basically make the photo unusable from a professional photography perspective. If you’re just looking to snap some pics for your own enjoyment or for showing on social media, this is still a great option!
Compact point and shoot camera
The next step up from your phone would be a point and shoot camera. While point and shoots won’t have quite the capability of a larger camera body and lens combination, the image quality that these tiny cameras produce can still be stunning, and is a huge improvement from mobile phone photography. Your ability to communicate the scenery and also to take more compressed, zoomed shots will drastically increase with an investment in a high quality point and shoot.
If you’re exploring investing in a point and shoot, I highly recommend the Sony RX100. This little camera is insanely powerful, and is a trusty companion for any photography journey.

Carbon fiber tripod
If you’re getting out to shoot landscape or astrophotography, you’ll need to pack your tripod along with you in your pack. The tripod can be one of the most cumbersome and heavy items in your pack, so it’s crucial to cut down on the size of this important item. The most effective way to do that is with a carbon fiber tripod. I recommend either the Peak Designs Travel Tripod or the Sirui T-025s Carbon Fiber Tripod.
All in one lens
If you do decide to carry your fancy camera body out into the wilds, getting a quality all in one lens is a great way to be sure you keep your gear limited while also staying prepared to shoot pretty much anything that might come at you. I like to bring my Sony 24-105mm lens on trips - it gives me enough range to shoot wonderful landscape and even astrophotography shots while still giving me the ability to zoom in on scenery, including wildlife.
Full frame vs. crop sensor
Personally I wouldn’t want to swap my full frame camera for a crop sensor camera when shooting landscapes (if you’re not sure of the difference, we go into the details in this article), but carrying a crop sensor camera is a valid way to try to save on some weight. New mirrorless camera bodies are quite compact, but the real weight savings will come on the crop sensor lenses. If you’re interested in checking out a solid crop sensor package for backpacking, I would recommend the Sony a6600 with the 18-135mm all in one lens.
Protecting your equipment
Once you’ve decided what gear you will be bringing, it’s critical to make sure that you protect that gear from the elements. If a storm rolls in while you’re on trail, you’ll have nowhere to go and nowhere to stash your gear besides in your pack. Beyond rain you’ll need to deal with dust, dirt, and mud, lakes, rivers, rocks, trees - if you’re not careful, it’s quite easy to come home from a trip with a non-functioning camera! There are several very simple, yet critical steps that you can take to protect your precious equipment in the wild.
Waterproofing & protection

The most important thing you need to worry about is what you are going to do with your camera in a downpour. There are a few options that you could go with here, but I like to use a simple, tried and true method - drybags. I go with the Sea to Summit Drybag, then stuff my camera cube (more to come on that) into it. I’ve found that as long as I’m not in an environment like the Boundary Waters where my camera may possibly become submerged, one bag does the job. For canoe or other water trips, I would recommend two bags and maybe even a Pelican case depending on how much space you have. I really like the Pelican’s, but I haven’t found one that is small enough for my liking. You’ll also want to make sure that you have a rain fly for your pack for an extra layer of protection - it will also keep everything else in your bag bone dry.
I would also highly recommend snagging a Peak Design Shell. I don’t know how I lived without the Shell before - bandanas, plastic bags, and other jerry rigs are a thing of the past. The Shell allows you to carry and use your camera in light to moderate rain / snow without worrying about water damage. Not only that, but you can wrap you camera in your Shell when not in use for added padding and waterproofing.
If you use Pelican case you’ve got your camera completely protected from bumps and falls as well - however, as mentioned above these cases are quite bulky and heavy, and I prefer to go lighter and more compact. I use a lightly padded ProMaster case for my camera. Something like the Peak Design camera cube or Peak Design tech pouch would work well depending on the size of your setup. Whatever you do, make sure you have some protection in case you or or your bag take a small tumble!
Dirtproofing & keeping clean
The Shell helps to keep dust out of your camera as well as moisture - when I’m in a sandy or dusty environment, I always avoid being a fool and wrap my tool. If you don’t have a shell you can rig up a bandana or plastic bag, but beware of excessive heat and of moisture getting stuck in between your bag and your camera.
I also highly recommend picking up a specialized tool that you can use to brush dust and sand from your camera. I like the ProMaster cleaning pen - you can pick them up at your local photography shop, or on ProMaster’s website.
Protective lens filters
This extends beyond just backpacking - you absolutely need to be sure that you have a protective filter on all of your camera lenses. Having a $50 protective lens cover can be the difference between breaking your lens or breaking the lens cover. They also help keep dirt, dust, and fingerprints off the lens. I highly recommend the Promaster HGX Prime filters for all of your lenses.
Peak Design Capture Clip

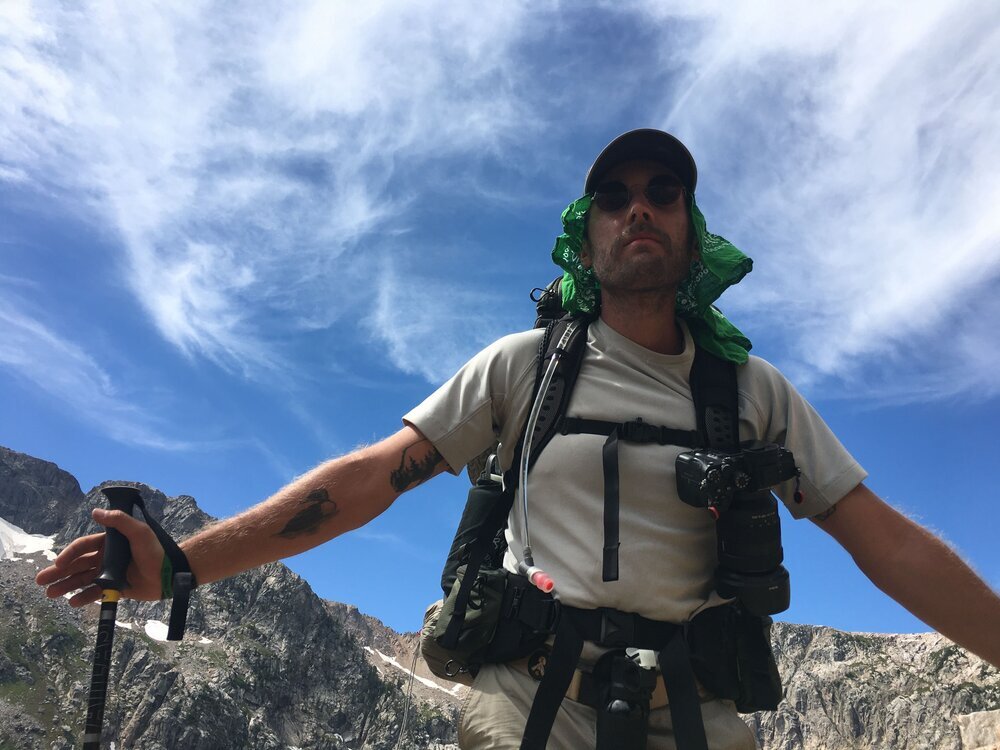
The Peak Design Capture Clip is probably the single item on this list that completely changed the game for me when it comes to backpacking with my camera. Before the capture clip I was using my camera’s stock strap - I always had my camera out and ready to capture the scenery, but it was constantly bouncing around, pinching my skin, and just getting in the way of everything else. Life after the Capture Clip looked completely different. The camera stays super secure on my pack and my body no matter what I’m doing, and it’s always right there ready when I need it.
The clip attachment also fits on standard Arca-Swiss tripod mounts, so when you need to take an astrophotography shot or setup your tripod for a sunset, there’s nothing else you need to switch around. I can honestly say the Capture Clip is the most valuable photography accessory in my toolbelt.

Backpacking photography gear list

Lightweight camera - mirrorless full frame or compact full frame
All purpose lens or two lenses max
Protective camera case - Peak Design camera cube
Carbon fiber tripod - Peak Designs Travel Tripod or the Sirui T-025s Carbon Fiber Tripod
Waterproofing accessories - Sea to Summit Drybag
Variable ND filter
Protective lens covers - Promaster HGX Prime filters
Protective sleeve - Peak Design Shell
Microfiber cloths
Lens pen or other cleaning tool
Spare memory cards if necessary
Extra batteries
Portable batteries