The Complete Beginner's Guide to Underwater Photography

I’ll never forget the first time I descended beneath the surface on my first open water training scuba dive. As I lowered myself beneath the surface a Southern Stingray shook the sand off it’s back and peacefully swam past, five feet from my clumsily flapping fins. It was right there! My first thought was, “Wow, this is incredible. It’s an entirely new world down here. I know I’m still young, but how did I not do this earlier in my life? I missed out on so much!” My second thought was, “I need to get a camera down here, ASAP.”
If you’re anything like me, you probably experienced something similar to that same thought progression. Getting a start in the world of underwater photography can be daunting and takes lots of time and practice, and if you don’t live somewhere that offers year round diving you most likely only get a few weeks a year under the water shooting. I was lucky enough to spend a year living in a diving destination and was able to spend lots of time diving and improving my UW photography skills. Looking back I made tons of mistakes that I eventually learned from, but I wish I would have had a comprehensive guide with everything I needed to get me started.
Whether you’re a seasoned diver looking to start your underwater photography adventure, an above water photographer with plans to transition your skills to the water, or a casual diver who wants to capture memories of your dives, this guide will help you splash into the expansive world of underwater photography.
Table of Contents
Determining Your Underwater Photography Goals
Before you set off down the tumultuous (and often expensive) path of underwater photography it’s important to decide what your objectives are for taking photographs underwater. It’s critical to outline these before getting started because a) they will determine the gear that you need to invest in and b) the amount of time you need to invest in honing your skills will vary based on what you are hoping to get out of your underwater shooting.

If you aren’t quite sure of what your goals are at this point, that’s ok. As you go through this guide we will provide insight for you on different stages of your journey that might help you decide where you want to take this newfound hobby of yours. A few different ideas for your underwater photography goals might be:
Preserving dive trip memories with your family and friends.
Taking photos of tiny (macro) critters.
Using your photographs for fine art applications such as prints, galleries, websites, articles, or journalism.
Capturing video footage of your dives, either for personal or professional use.
Recording images and videos for scientific use.
As you might imagine, different goals lead to different equipment requirements, knowledge bases, and techniques that need to be utilized. Laying out your goals and deciding where your UW photography journey might take you are not only key to succeeding in your endeavor but also to enjoying it.
Take a few minutes to think about what you might want to do with your newfound hobby. Write about it in your journal or on a piece of paper, then come back to this article to jump into your underwater adventure.
Basics of Underwater Photography
There are a few basic things that you can do right away that will help you to level up your UW Photography. We will cover all of these in more detail throughout the rest of article, but it’s critical to study them over and over until they are automatic. These are the items that you need to take to heart:
Practice literally everything you will do underwater above water, long before your dives, multiple times. I can’t stress this enough. This was one of the biggest mistakes I made. Study your camera / housing front to back, memorize all of the controls, get all of your settings configured, and become familiar with your gear. Connect and fire off your strobes, read the user manuals of your equipment, plan out dives, and study your subjects and their habitats. Run through your pre-dive and post-dive workflow until it’s automatic. Mid-dive is not the time to become familiar with your gear, and you should know how to care for all of your gear long before you get in the water.
SHOOT UP! If there is a cardinal rule for UW photog composition, this is it. It can be tempting for a beginner UW photography to hover above the subject and shoot down on it, but when you do this it produces flat, uninteresting images. Get on at least the same level as your subject, and shoot up at it whenever you can. This will give a better sense of scale and provide an interesting subject that will draw your viewer’s attention.
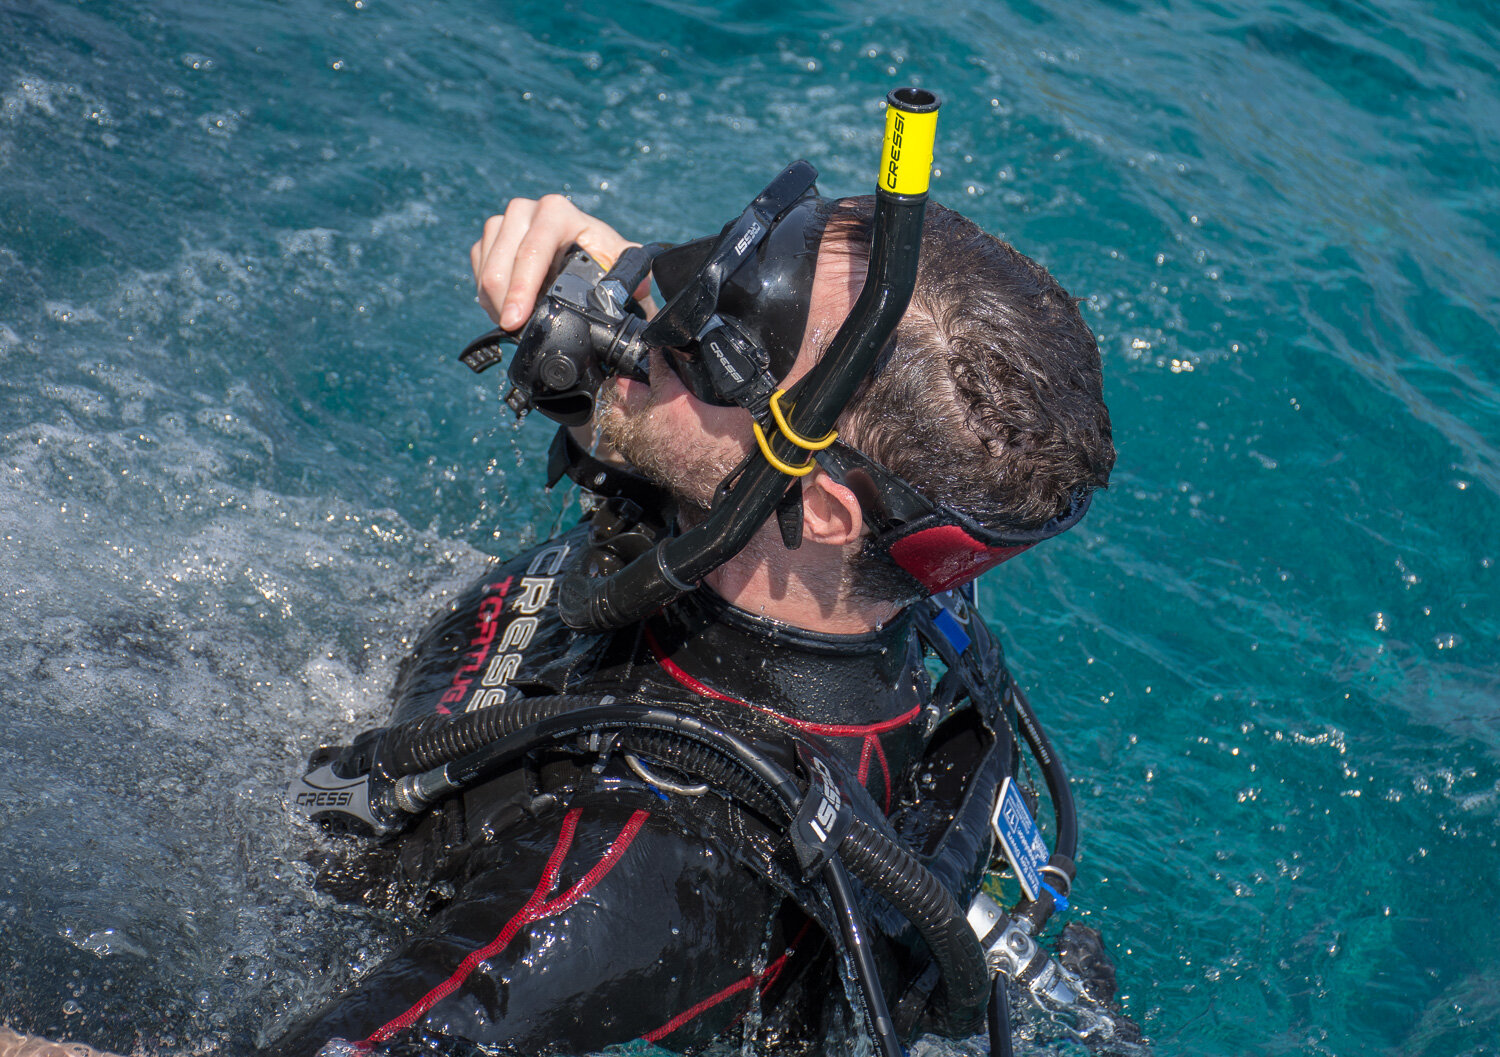
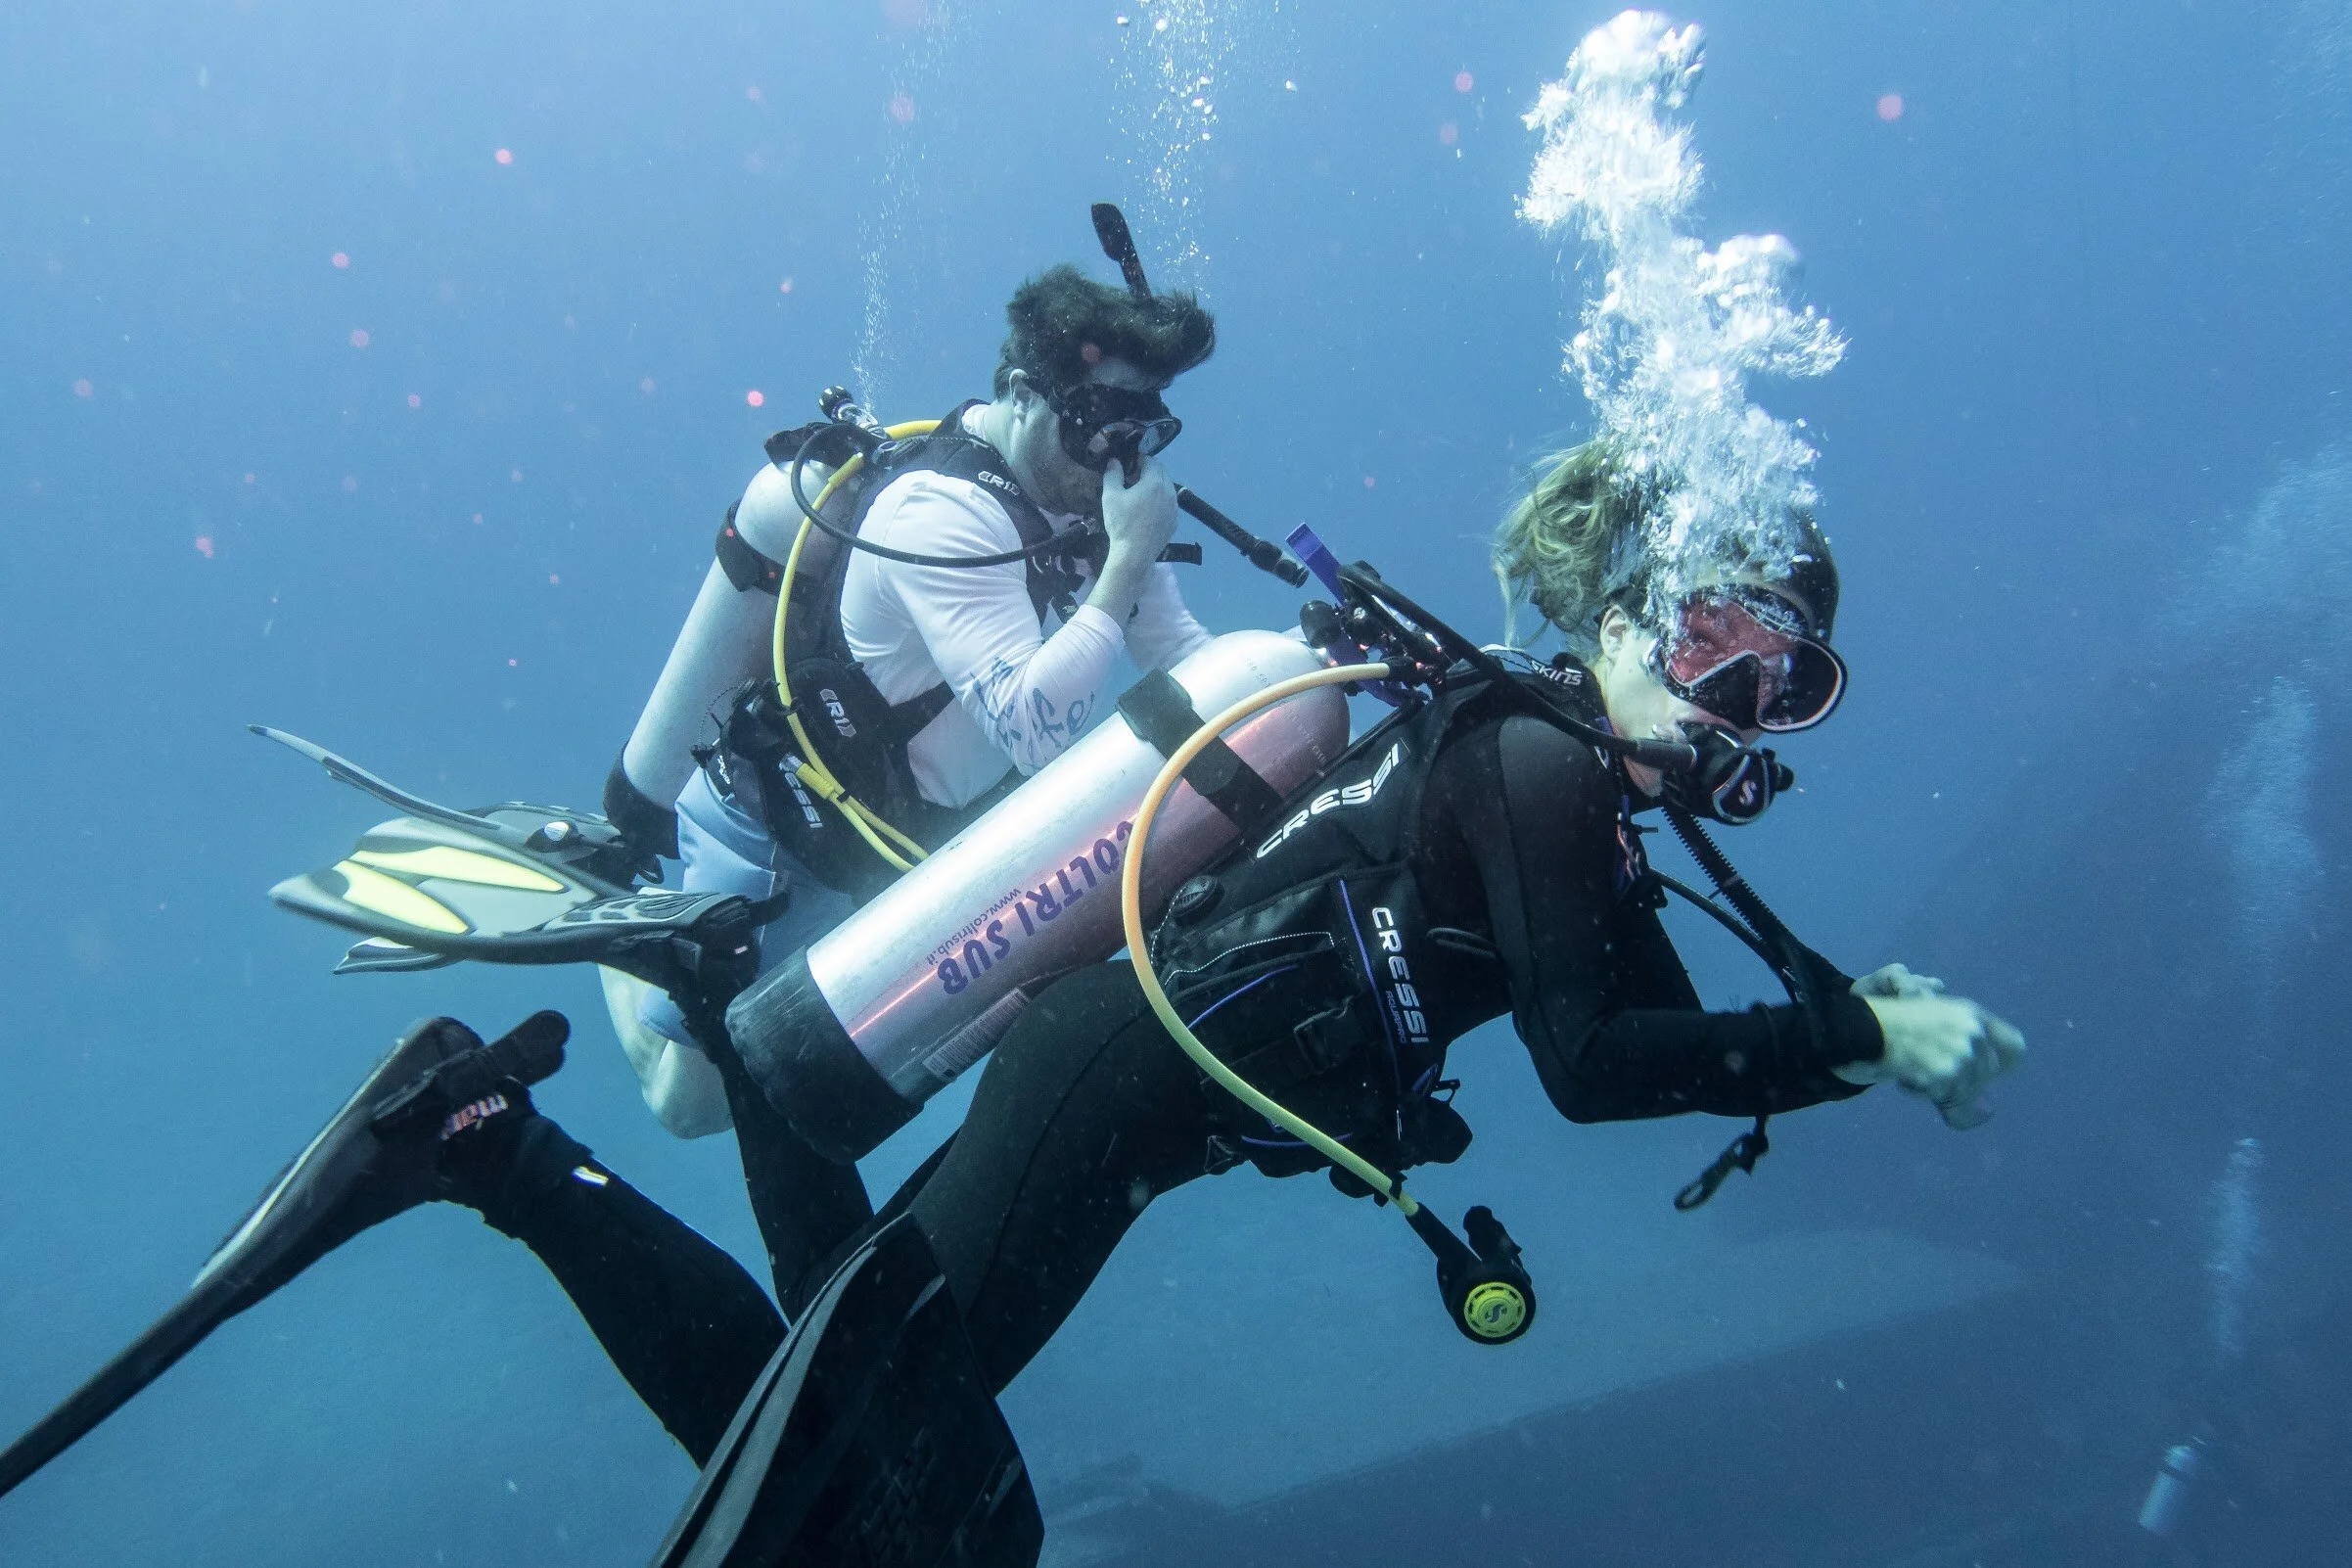
Become comfortable diving and master your buoyancy. Start slow - on your first few dives, go down without any photographic equipment. Safety is the most important factor when you’re diving, and if you aren’t practicing safe diving techniques, you shouldn’t be shooting any photos. Level up slowly from there; bring a disposable camera or a smaller rig, then add on strobes an additional weight as your skills progress.
Take only photos, leave only bubbles. Underwater ecosystems and wildlife are fragile and are not meant to be touched. It’s possible to kill a creature with just a short touch of your fingertip. Not only that, but many underwater animals can be dangerous if harassed or even just brushed up on. I’ll say it again - respect the environment and do not touch anything! Be mindful of where your fins are and where your body is if floating in place for a close up shot.
Do your research on the environment before the dives. Understand what type of conditions you will be shooting in, what kind of creatures you might encounter, and what shots you might want to go for. That will help you to prepare your equipment, plan your dive, and configure your settings in the proper manner.
Always submerge your gear before the dive to test the seals and ensure everything is working correctly, and always get your gear into the rinse bin immediately after your dive. Take the time to clean your gear thoroughly once you are done diving for the day. Grease up those O rings, scrub off any pesky salt that remains on your gear. The better you take care of your equipment, the longer it will last, and the less chance you will have for a flooded housing or malfunction.

You might have noticed that these items hardly touched on any type of instruction on actually taking pictures underwater. That’s because a huge part of taking great underwater photos has to do with being a great diver, doing a phenomenal job of organizing and caring for your gear, and nailing your photography workflow. This is why it takes so much time to do things right as a photographer, especially if you’re transitioning from land based photography.
Now it’s time to dive into the meat and potatoes of what you can do to start your UW photography journey off on the right foot!
Selecting Your Equipment
The first step after making the decision to start your underwater photography journey is selecting your photography gear. If you’ve done any research before reading this article you would have found hundreds and hundreds of products out there. It can be overwhelming if you don’t know where to start.

The key to determining the gear that you should invest in are the UW photography goals that you determined earlier. If you’re a serious photographer looking to invest lots of time into your work and potentially pursue it as a career, side hustle, or passion it would be worth it to go for some top of the line equipment. On the other hand if you’re just looking to capture some casual footage or shots for memories sake you might choose to go the route of something cheap that will get the job done. Or, you might fall somewhere in the middle. We will explore several equipment choices that will serve photographers of all levels and do our best to help you make your equipment choice easy.
This is by far the longest section of this article, and for good reason. There is a lot that goes into choosing the gear that you will go with, and hopefully you’ll have that gear for years to come if you choose correctly!
Choosing a Camera & Housing
The first place to start is with the camera you would like to shoot with. If you currently own a camera you may be able to utilize it for your UW photography, however you might want to consider having a dedicated camera selected specifically for this purpose. It’s important to ask yourself a couple of questions before making that choice:
What will the consequences be if your housing floods and your camera is ruined? If you’re a professional photographer, will this ruin your only camera (aka your source of income)? How much are you willing to spend fixing / replacing your camera if something does happen?
Take a look at your current camera, and do some research on how old it is and what it’s capabilities and compatibility with accessories and lenses are. If your camera is outdated, it may be worth upgrading.
Do you want to use this camera outside of your UW photog venture? If so, think about the features you might want for any secondary photography purposes.
Compact Cameras vs. Interchangeable Lens Cameras - an Underwater Photography Perspective
For the purposes of this article we won’t go into the difference between mirrorless and DSLR cameras, but we will examine why one might select a compact camera vs. an interchangeable lens camera (ILC). Below is a quick at a glance comparison of the two camera types; we will go more in depth on why one camera might be better for you than another.
Interchangeable Lens Cameras (ILCs)
Pros:
Higher end models produce top of the line image results.
Can change camera lenses for specialized shooting.
Cons:
Usually more expensive. Must purchase lenses to use camera.
Cannot change lenses mid dive.
Compact Cameras
Pros:
Usually less expensive for the entire setup.
Versatile - able to change lenses mid dive.
Can be easier to learn to use.
Cons:
Generally produce lower image quality.
Unable to use specialized lenses.
Can suck battery life quickly.

Compact cameras are smaller devices that have a built in lens that you can’t change or remove. They are mirrorless cameras that often do not have viewfinders built into them. Generally compact cameras will have less features and less impressive technical specifications than ILCs, but with recent improvements that is not always the case. Many higher end compact cameras are used regularly by professional photographers both above and below water. Due to their smaller design and scaled down features they are also generally less expensive than ILCs, but again, that’s not always the case. Above water these cameras are significantly smaller than most ILCs, but due to the housing and additional gear needed for UW photography this benefit is negated underwater. Compact cameras also have a smaller image sensor in them.
The main advantage of using a compact camera is that you can use wet lenses on the housing. Wet lenses can be swapped in and out during a dive, letting you shoot a super small subject and a large subject on the same dive! This versatility is the reason that high end compact cameras are popular even with professional photographers. For more information on wet lenses check out this Moziak article. The housings for these cameras are also usually less expensive.

Interchangeable Lens Cameras (ILCs) are cameras that allow you to swap out lenses. They can be DSLRs or mirrorless cameras; when you think about a professional camera set up these are the types of systems that come to mind. They produce incredibly high quality images and generally have top of the line features included in them. They have larger sensors than compact cameras, and higher end ILCs will have full frame sensors.
All other things being equal these cameras generally produce higher quality images than compact cameras. This is due to several factors, but mainly it is thanks to their larger sensors and enhanced focusing systems. The biggest difference and potential drawback is that you cannot change lenses mid dive; if you go down with a macro lens on and a shark swims by, tough luck! These camera systems - the camera, lens, and housing - are also usually more expensive than compact cameras.
So, which camera should you go with? That depends on where you at in your photography journey. Here are my recommendations. As of March 2020 I’m listing the most recent models available in these lines. Don’t be afraid to look for an older model! For example, rather than getting the Canon G7X Mark III, get the Mark II; or go for the Sony A7R III instead of the A7R IV. You can save loads on older camera bodies and housings. When you buy a new housing, always go on the first dive with an empty housing!
Note: all prices below include the underwater housing and are subject to change.
Best Beginner Cameras
GoPro Hero 9 ($450). If you’re just looking to get out and capture some memories of your dives, you can’t go wrong with a GoPro. GoPros are also commonly used by professionals for b-roll and as an easily accessible video recorder. You don’t have to buy much specialized equipment with them, they take great footage and solid images right out of the box, and they are incredibly easy to use. They can also be utilized on land for other activities and movie making. Make sure you get all of the necessary accessories to optimize your diving experience with your GoPro. The biggest downside to a GoPro is that it lacks manual shooting modes, and you won’t be able to do much macro work with it.
Canon G7X Mark II ($630). The Canon G7X line is my favorite choice for beginners. For a compact camera it produces stellar images, has top of the line features, and is an incredible buy for the cost. The Fantasea housing is only $400, which is one of the less expensive housing options available. Its focusing technology is top of the line and its macro capabilities are amazing. Out of the box this camera will impress anyone from a beginner photographer to someone who has been shooting for years.
Olympus TG-6 ($750). The Olympus TG-6 is another one of my favorite choices. The camera by itself is waterproof up to 50 feet and is shock/dustproof, so even if the housing floods or water leaks in on the boat, you’ll be just fine. The image quality is solid on the TG-6, and one of the best things about the TG-6 is its macro capabilities without a wet lens attachment. The only downside to the TG-6 is that it does not allow for manual shooting.
SeaLife DC2000 ($730). This is the only camera in the article that I have not personally used. However, it has raving reviews across the board for being a solid performer in an incredibly easy to use unit. The camera was made for the housing, so you don’t need to worry about purchasing a separate unit for it. There are a plethora of accessories and attachments that you can get to spruce up your camera’s capabilities.
Sony a6000 ($700 with kit lens). This model is the sole camera on this list that is not a compact camera. We’re getting into ILC territory here, and you can see that reflected in the price point. However if you are looking to spend a little bit more on a camera and want something that will transition well to shooting above water, the a6000 is a great choice. It’s the highest performing camera on this list from a technical standpoint, and if you invest in high quality glass for the a6000 you’ll be well on your way to having a professional UW setup.
Sony RX100 VII ($1200). Ah, the RX100. This is the king of compact cameras. This little guy packs a big punch. It has a larger sensor than most compact cameras, an incredibly sharp lens, and ultrafast focusing capabilities. If you’re looking to get a compact camera and want the top of the line model, this is it.
Cameras for the Enthusiast
Sony a6600 ($1400 - body only). This bad boy is Sony’s top of the line mirrorless crop sensor offering. Image stabilization, 4k video, and top of the line focusing technology come together in a relatively compact package. This camera stands king among all crop sensor cameras.
Nikon Z6 II ($2000 - body only). The Z6 is Nikon’s lower end full frame debut into the mirrorless world. It has lots of features that the flagship Z7 has, with the main difference being the number of megapixels in the sensor. The Z glass for the Z6 is incredibly sharp and they are consistently rolling out new options.
Canon EOS R ($1800 - body only). Like the Z6 and Z7, the EOS R is Canon’s debut into the full frame mirrorless realm. It was Canon’s flagship in their mirrorless R line, usurped by the R5, linked below. It has everything you could want in a camera body, and the new R glass is of insanely high quality. The R is a highly capable full frame camera, especially if if you do have lots of high quality L glass available from your previous Canon cameras.
Cameras for the Professional (or if money is not an issue)
Sony A7R IV ($3500 - body only). How many megapixels did you say…did I hear you spit out 61?!? This camera has the highest amount of megapixels available for any full frame camera on the market, and boy does it show when you shoot with it. Match that with an unrivaled autofocusing system enough features to last you a lifetime and you’ve got, in my opinion, the best full frame option out there. The only downside to this camera is the huge file size - the RAW files are 125 MB apiece.
Nikon D850 ($3000 - body only). The D850 has been Nikon’s go to professional offering since it was released in September 2017. It’s a trusty stallion of a performer and is incredibly rugged. It is one of two DSLRs on this entire list, and for good reason. The D850 is an insanely good camera with the resume to back it up.
Canon EOS R5 ($3900 - body only). The R5 is Canon’s direct response to Sony’s A7R IV. Spec wise it’s up there with any top of the line camera, and is a top tier option for professionals and prosumers alike. Like the Canon R, you can use R glass or L glass with the R5 camera (with a converter).
Nikon Z7 ($2800 - body only). This is Nikon’s flagship foray into mirrorless territory, and it’s a solid competitor with all of the top of the line prosumer cameras. It has all of the bells and whistles and a full frame sensor. The new Z glass is also some of the sharpest around.
Strobes

This section will be quite a bit shorter than our camera resources - lucky you! I only have three questions for you to consider when it comes to strobes - should I forego a strobe, should I only get one strobe, or should I get two?
If you’re a casual shooter you might not need a strobe. If you don’t get a strobe, however, you will want to get a red filter for your camera; otherwise, all of your colors will be off in your images (more on this in the Composition section). Lost of the camera models we recommended have flash units built in, which is a good option to utilize as you get started and learn how to use your camera underwater.
The only reason to get one strobe vs. two in my opinion is budget. If you can swing it, get two. It’s still good to start learning slowly; progress from the on camera flash to one strobe to two strobes when you feel ready. However, I can speak from experience - once you feel comfortable using one strobe, you’ll want two. It’s as simple as that. Even in situations where you might only want to use one strobe, you can turn one of them off.
To learn more about strobe choices, check out Mozaik UW Camera’s great article on the best strobes available. They go in depth on how the strobes work and which ones might be the best for you. If you’re curious, I use two Inon S2000s.
If you’re planning on shooting lots of underwater video, you’ll want to consider a video light. Again, I’ll let Moziak take it from here - check out their great resource on video lights.
Wet Lenses - Compact Cameras
With your compact camera you’ll be set for lots of different shooting conditions from the start - if you have hit your budget or want to focus on getting to know your rig as is before adding any components (recommended!), you don’t necessarily need to add on any wet lenses to your setup just yet. However, there are two types of wet lenses that you might want to start thinking about as you are shooting and learning what you might want to add to your kit:
Wide Angle Lens. These awesome add ons greatly increase your field of view, which can be extremely helpful and sometimes needed when photographing big subjects. We need to get close to eliminate the loss of light through water, and as we get close, our subjects can start to overfill our camera’s field of view. A wide angle wet lens counters this effect, allowing you to get extremely close to your subjects and still capture them in all of their majesty.
Macro Lens. Those incredible shots of microscopic critters you see if you search macro diving photography on Google were all captured using macro lenses. This can be one of the most rewarding, and most challenging, types of UW photography. If you want to photograph tiny critters, you’ll need to snag one of these.

We won’t go in depth on how to use these lenses in this guide. If you want to dive into the details on these and get some recommendations, check out Moziak’s great post on the subject.
Lenses - Interchangeable Lens Cameras

This is another subject that we won’t dig into in this article, purely because it can be so expansive. The nice thing about buying a new lens to use with your ILC also means you can use it above water. Just like with wet lenses, you’ll need different lenses for different types of shooting. Once you choose your camera model, start with one versatile, all in one lens, like a 24 - 70 f/2.8, or even the kit lens, and go from there. The key when you’re starting out is to shoot with what you have. As you dive and shoot, you’ll run into scenarios where you realize your lens comes up short. Make a mental note of that, then start doing your research on the best lens for your camera for that type of shooting. Repeat until your photography collection takes up an entire shelving unit (whoops).
One important thing to note is that UW housings for ILCs don’t, by default, have the zoom and focus rings installed. You shouldn’t need these right away, but if you do want to grab them, they are relatively inexpensive.
Plates & Arms
We need some way to get your strobes attached to your housing - this is done with a plate and arms. There are lots of options out there, so I’ll just go ahead and recommend Beneath the Surface. They have high quality equipment that is built to last. Make sure you get a ball arm setup with locking joints; these operate smoothly and silently underwater, and are incredibly secure when you need them to be. I would at least get a plate, a grippy arm with a ball joint to hold onto, a long ball joint for each strobe, and a short ball arm for each strobe.
You’ll also want to get some floaties to ensure your rig is buoyant. I’ve heard horror stories of rigs getting loose and sinking off into the deep - I’ve almost had it happen to my equipment! Don’t be like me; get floaties. The amount and size you need will be specific to your equipment.
Other Accessories
There are so many accessories available for underwater photography it will make your head spin. My recommendation - start with the basics, then grab additional accessories. As you’re underwater shooting you’ll have a thought in your head that goes along the lines of “Gee, I wish I had this thing to perform this task!”. Boom - make a note of that, and grab an accessory, lens, etc that will help accomplish it.
You’ll of course want to make sure you get a memory card with plenty of space and at least one backup battery. You will also want to start stockpiling desiccant - you know, those little pouches of gels that get shipped along with lots of your packages. You can buy these if you need to, but most suppliers ship their products with one or two of these included. Start stockpiling them. They are key to keeping your gear dry and prevent your housing from fogging up.

One accessory I might recommend if you have a compact camera with wet lenses are strap on lens holders. They provide a nice place to mount an extra wet lens and make it quick and easy to put on and stow your wet lens.
Finally, look into getting a nice, sturdy cooler that you can use to store all of your gear. There are too many horror stories of rigs getting broken in rinse tanks on dive boats, and you never know what they are putting in that tank. Get a cooler that can fit your rig both assembled and broken down. You’ll use this to transport your gear out to the boat, rinse it off after the dive, and store your gear at home.
Now that you’ve got your gear wishlist put together, let’s get into the fun part - shooting and diving!
Exposure, Composition, & Backscatter
You’ve probably heard of the basic principles of photography before - composition and exposure. These two principles are just important when it comes to underwater photography as they are to shooting above land - if anything, shooting underwater is less forgiving, so it’s critical to master these before heading in the water. If you’re looking to brush up on your composition or exposure skills, check out our Online Workshops. It can be tough to remember these principles when you’re 100 ft underwater and an Eagle Ray is swimming 10 feet in front of your face, so practice as much as possible above and below water to make sure these are second nature to you.
Many of the principles are the same below water as they are above, but there are several key differences to each that are important to take into consideration.
Exposing Underwater - How Water Affects Light
As you descend below the surface, two things occur that affect how our eyes - and more importantly, our camera - are able to perceive our environment:
Due to reflection, refraction, and diffusion, less light reaches into the water the deeper we go. For UW Photography purposes, it’s enough to understand this basic description without going more in depth.
Because less light reaches the deeper you go, colors, especially reds, start to decrease in vibrance.
The more water that is in between a subject and your camera, the lower your visibility (and therefore, exposure) will be.
Put simply, the deeper you go, the less light there is for your camera to represent an image. Poor visibility and obstructions like algae or sediment can also decrease the light that penetrates below the surface. As we know, less light in photography can be a major problem. So, how do we solve for this problem? We have two ways to do this:
Stay shallow. You don’t have to go deep to find amazing subjects to shoot! This also helps conserve your air, which means longer dives and more photos.
Bring your light down with you. The main tool available for UW Photographers are strobes, which are powerful flashes. You can also use video lights and dive torches to help bring light below the surface. We will go over how to choose and use a strobe later.

A photo taken at the end of a dive during a safety stop with no flash. See how the yellows are still vibrant, whites still white, and the background tinted a light blue.

This photo was taken on the same dive a depth of 40 meters (130 feet) with no strobe. Note the darker blue color, and the dullness of the yellows.
Exposure Settings In-Camera
It can be tempting as a beginner to just set your camera in automatic mode and jump in. However, camera systems were not programmed to expose correctly underwater. If you do this, you’ll most likely end up with a high number of blurry or incorrectly exposed pictures. I would highly recommend at least starting in a priority mode, or jumping straight to manual.
In general, when I head down on a dive, I start with my camera set to a 1/125th shutter speed, ISO of 100, and aperture of f/7.1. Of course I’ll adjust these based on the lighting and subject matter, but if you’re looking for a starting point, somewhere around these settings is a solid bet. Each type of shooting and situation will require different settings, but when armed with a few pieces of knowledge about each, you can build on that and adjust as you learn more and as you go throughout your dive.
Shutter speed. When shooting above water, shutter speed settings are much more forgiving. You can set your camera on a nice sturdy tripod or hold your breath during a shot and you’ll get a nice, crisp image. Underwater, that’s not the case. You’re constantly moving up and down and flipping your fins. The critters you’re shooting are always on the move, most of the time at quick speeds. Always set your shutter speed to at least 1/125th of a second, and higher if the light allows for it. That being said, with slower shutter speeds you can sometimes get cool effects with an animal in motion.
Aperture. Unlike shutter speed, your aperture is nice and flexible - you’ll be able to, and should, use your full range of aperture stops when shooting. The thing about opening that aperture up nice and wide is that you can let more light in, and therefore use a faster shutter speed / lower ISO. However, this will also provide a shallower depth of field, which will change the appearance of your photos. When first getting started a nice middle range aperture like 7.1 is a good bet. This will set you up to capture a wide variety of images.

A nice narrow aperture (f/9) gave me the depth of field needed to bring all of these silversides in focus - at a distance.
As you start to get closer and shoot smaller subjects, even narrow to middle range apertures (f/5.6) start to introduce the depth of field bokeh effect.
ISO. This point of the exposure triangle is relatively straightforward. Just like when you’re shooting above water, try to keep your ISO as low as possible. Play with your camera above water and understand how far you can push the ISO up before grain is introduced to your images.
Using Strobes and Lights
There’s only one way to counter the loss of light underwater, and that is by using strobes or other types of light. For photography, strobes are the preferred light source. They put off more light than a video light and can sync with your camera settings to provide an automated burst of light based on your camera’s settings. There are several types of ways to link up your strobe to your camera. The easiest way for beginners is probably a direct connection to your housing. If your camera does not have a built in flash, you can do this using the hot shoe. You can also link up your strobes to be fired wirelessly, which eliminates those pesky cords that float around everywhere.
Learn to shoot with your strobes in manual, and practice with different positions. It will be challenging at first, but will give you the most flexibility and control over your photos.
Another thing to consider is the maximum sync speed of your camera. Simply put, this is the fastest shutter speed that your camera can use when shooting with an external strobe. Do a quick Google search or review your camera’s owners manual to determine the maximum sync speed of your model.
If you’re shooting video, you’ll want to look into video specific lights for your setup. These are constant lights that provide a powerful, adjustable source of light during shooting.
You can also use dive torches to light the environment. These can be really useful for things like wreck dives and can be used to create interesting compositions. Often times I will also use either my dive torch or have my buddy illuminate an area with their dive torch to bring color and light to an area that my strobes can’t reach, like faraway coral.
Underwater Composition
Composition is largely the same as it is above water. It’s important to keep in mind the basic principles like the Rule of Thirds and the Golden Ratio. Make sure you fill your scene with your subject, and try not to shoot with the intention of cropping your photo. If you want to learn more about the basics of composition, check out our Online Composition Workshop.
There are, however, some tips that are unique to UW Photography that are key to keep in mind:

This incredible photograph by Christain Schlamann shows amazing use of negative space, and why you should sometimes break the rule of “always shoot up”
When shooting divers, try to shoot them from the front or the side. Nobody wants to see the booty of the person in front of you on a dive.
Shoot up to, or level with, your wildlife subjects. Just like with your divers, try to shoot wildlife subjects head on. This is a flexible rule and one that should absolutely be broken at times, but generally most wildlife, especially smaller critters, look far more interesting from below or straight on than from above.
Get close. The less water in between you and your subject the better. Whenever you take a photograph you should plan on that being the final image without any post-processing. Shoot as if you can’t crop your photo. If you’re using a compact camera or a telephoto lens, don’t zoom! Zoom with your fins, not your camera.
Use negative space. Oftentimes UW subjects will be isolated by themselves in the water or against a patterned background. Utilize these unique opportunities to your advantage.
Reviewing Exposure & Composition
Exposing and composing underwater may share lots of similarities to doing the same above water, but in summary there are several key differences that you should keep at the top of mind on every dive.
The deeper you go, the less light and color there is.
The more water between you and your subject, the more backscatter will appear in the image and the less reach your external light source will have.
Shutter speed is less forgiving underwater. Try to stay at 1/125th of a second or faster.
Shoot up on and from the front of your subjects - but don’t be afraid to break both of those rules.
Backscatter
Fanning your strobes out and pointing them away from your subject can help to eliminate backscatter. Source: Moziak UW Cameras
Ahhh, backscatter. The underwater photographer’s bane. If you aren’t familiar with it, backscatter comes from the little particles that are constantly floating around in the water. It can be little critters, bits of plant, poop, algae, or any other floating particle that gets between you and your subject. When you use a strobe the light is reflected off of these particles, which illuminates them clearly in your image.
The only effective solution to eliminating backscatter is to get closer to your subject. The less particles you have in between you and your subject, the less backscatter will appear in your image. Strobe positioning can also help to eliminate certain amounts of backscatter. It can be accounted for in post processing, but it is time consuming and difficult to remove. Oftentimes it is not possible to remove backscatter without negatively altering the original image.
Prepping Your Gear Before Diving
Now that we have our gear together and our photographic principles down we’re ready to jump in the water, right? Not so fast there partner! We still have some things that are incredibly important to do before we head under the surface.
A key principle of underwater photography is that you want to do everything you plan on doing below water above water first in a trial environment. This will allow you to work out any kinks in your workflow, set up your camera settings correctly, ensure you care for your gear properly, and ensure that any problems you have happen when you can refer to your owner’s manual or the internet to quickly resolve them.
Configuring Camera Settings
I have a perfect story that illustrates why it’s critical to become familiar with your camera prior to your dive. My friends and I went out for a night dive, and as we were descending, I turned on my camera to test out strobes, etc. However, as I was looking at the screen, everything was all wrong. None of my settings were what I had configured them to before the dive. Panicked, I tried to quickly change all of the settings, which takes several precious minutes. After I had fixed everything and missed some shots with an octopus, I finally noticed that I was in video mode. I switched back to Manual and presto, all of my settings were correct. If I had spent more time with my camera and known it like the back of my hand, I might have gotten some amazing shots of an octopus to share with you.
Modern cameras nowadays have so many buttons and settings that it can often be daunting as you scroll through the menu screen. Not to fear - below are the key settings you need to look for and make sure you adjust before heading down for your dive. Compact cameras won’t have all of these settings, and different camera manufacturers will have different titles and labels for them.
Shooting in Raw vs. JPEG. I’ll be direct here - you should shoot in RAW. If you aren’t, you’re losing out on the enhanced ability to edit your photos in post production.
Disable touch screen. You can’t use your touch screen through your housing. It’s not liable to cause any problems, but it just might. Disable touch operation.
Disable AF Assist Beam or AF Light. The light won’t do any good shining inside your housing.
Focus Mode - Automatic. Underwater is too variable of an environment to utilize manual focus on a camera. It can be done, but it’s difficult. Know how to switch your camera back to AF within the housing in case you forget to pre-dive.
Focus Area - Spot or Center. The middle of the camera is where the focus point is strongest.
Continuous Autofocus - Off. You don’t want the camera to decide when to change the focus - you want to retain that power.
Priority Shutter Release - On. This setting means that the camera will take the photo when you push the shutter button down rather than when the camera thinks it is in focus. This gives you more control over when the shutter fires. Compact cameras often will not have this feature available.
Metering Mode: Evaluating / Matrix. If shooting manual, this will affect your meter and histogram. If shooting priority modes, it will affect the settings the camera chooses. Having the metering mode set to this option will tell the camera to meter across the whole scene, not just in a particular part.
Flash Settings. These can differ if your camera does not have a built in flash.
Flash mode: Manual. Only triggers the flash when you activate it.
Flash Output: Minimum. This helps to save battery on your camera.
Shutter Sync: 1st-curtain. This means that the strobes will fire when the shutter lifts.
Red Eye Lamp: Off. Not needed and will screw with the TTL feature of your strobes.
Drive Mode - Single shot. Your strobes are limited by what is called a recycle time; basically, they need a certain amount of time to recharge again and fire. If you abuse this, you’ll burn out your strobe. Many cameras can fire upwards of 10 frames per second, but lots of strobes need at least one second to recycle. Place your camera on single shot drive mode so you don’t wreck your new strobes.
Custom operation options. Most modern cameras have ways that you can customize your menu and operations. Change these to the options that you will use most and familiarize yourself with their location.
Display histogram during shooting and review. This is critical to getting a correct exposure and should be something that is active no matter what you are shooting.
Auto White Balance - On. If you shoot RAW, WB can be adjusted in post.
Auto ISO - Off. Gives you full control over the ISO settings in the camera.
Equipment Preparation and Practice
So, your new camera showed up, your housing, arms, floaties, and strobes were shipped to your house, and you couldn’t be more excited. Great - keep that excitement level up, because now it’s time to put everything together, take it apart, put it together again, take it apart…Do this several times. Learn exactly how each piece works by itself and with all of the other pieces of equipment. There are many things that can go wrong with an underwater rig, and by becoming extremely familiar with your gear at home you can limit the chances that these things go wrong on dive day.
Assemble your entire rig and walk around the house using it. If you have video lights, don’t turn these on above water. They can and will overheat. With your strobes, make sure that you respect the recycle time, and keep in mind that these too will overheat faster above water. Practice taking the types of shots you want to get. Shoot wide angle, then switch it up and practice your macro photography. The more you practice above water in a simulated dive, the better your shots will turn out when you descend and start shooting.
Obtain desiccant now before you need it. Place several of them in your dive housing, and several of them with the rest of your gear. This way you have them ready for when you leave and extras in case anything happens to the ones in your housing. Always have spare O rings and other parts. If you won’t be using your housing for some time, remove your O rings, grease them up, and store them in plastic bags.
Take a day and read your owner’s manuals. I know this sounds like a homework assignment, but you’ll learn so much about your gear by flipping through it just once. Bookmark important sections so you can easily access them later.
Consider purchasing insurance for your equipment. DAN Insurance can cover dive gear, as can the Professional Photographer’s of America insurance program. Some renter’s and homeowner’s policies may cover your equipment, but if you’re traveling internationally you’ll want to check on the qualifications of those programs.
Flying With Underwater Photography Gear
When you fly with your dive gear you will want to make sure you remove, lube and store all O rings in plastic baggies. The pressure changes when flying can dislodge and rupture O rings. Upon arrival to your destination you will need to lube, clean, and reassemble all gear. It’s also key to assemble and disassemble your gear before you depart on your trip to ensure you don’t forget anything. There are lots of moving parts to keep track of!
More detailed guides on cleaning your gear, check out the articles at UW Photography Guide and Moziak UW Cameras.
Dive Day
The big day is here! I envy the feeling - the excitement of walking out to the boat, zooming out to the dive site, and splashing in the water. It’s incredible. However, there are some business items we need to take care of first to make sure our day doesn’t turn quickly from the experience of a lifetime to an “Oh, shit” moment. I made the mistake of doing minimal research and just splashing in with my camera. When I finally got around to doing all of my due diligence, there were so many things that I wasn’t doing that I should have been. I want to help you avoid those same mistakes! Let’s prep up for a day of fun diving and shooting and avoid things going downhill at all costs with these pre-dive, dive, and post-dive steps.
Predive

The most important part of underwater photography is ensuring you and your dive buddies are safe. Listen to your divemaster, do your safety checks, and understand the dive plan.
Go to your selected dive shop the day before to get acquainted with the crew, the layout of the shop, and any equipment you will be renting. Never forget that your safety and the safety of others are of infinitely more priority than your images and any photography gear. Talk with your divemasters to understand the dive plan, get your diving gear together and double check that everything is functioning properly. Fill your divemaster in on your photography goals, skill level, and discuss any specific dive sites you would like to explore or wildlife you would like to look for. Introduce yourself to the captains and let them know you will be bringing a photography rig on board. As we prepare for our photography tasks, we can’t neglect our standard dive safety checks. Once you do these you’re finally ready to start getting your kit together.
Before you go to bed the night prior to diving, assemble all of your gear to ensure everything is accounted for. Check your O rings, format your memory cards, charge your batteries. I like to have a checklist of everything that I need to bring with me, take it all out, and then pack it up the night before bed. When you wake up in the morning, repeat this task. You can never double check too many times!
Upon arrival to the dive shop, place your things in a safe spot where you can keep an eye on them. Check that the rinse bin is full; if it is not, fill it or as the DM to fill it. Assemble everything with plenty of time to spare. Visually inspect all O-ring seals for hairs, sand, dust, or anything else that is stuck to the O-ring. Once you have your kit together, test it out above water. Push all buttons, take a photo, fire your strobes once. Double check that everything is sealed, batteries are charged, and memory cards are formatted, then head over to the rinse tank. Repeat this process to ensure there are no leaks and that everything works when submerged.
Now, fill your cooler with fresh, cold water, and place it in the shade. Don’t ever let your camera sit in the sun for extended periods of time. Primarily the issue is that this will cause your housing to fog up; if that happens underwater, there is no solution but to clean it out after the dive. Place two fresh desiccant packs in the housing to help prevent this. Leaving your camera in the sun can also cause it to overheat and potentially damage the system.
When it’s time to head out to the boat, run through your dive gear and photography checklist again. Grab your cooler and climb aboard! It’s key to confirm with your DM and with your captain that you would like to have them place your rig in your cooler and not in the rinse bin with other rigs.
Going on the Dive!
Here it is! Everything you’ve worked so hard to prep for. We just have a few more things to take care of, then we’re ready to enjoy our dive.
Don’t forget your safety checks. Dealing with a photography rig can be a bit stressful and adds to the things you need to think about. Again, this is secondary to your safety. Run through your checks, then move on to your photography tasks.
Ask the instructor, your dive buddy, or the boat captain hand you your rig after you jump in. Once you jump in, grab your rig, and start getting things configured right away. Turn the camera on, adjust any settings you need to, turn on and position your strobes, and fire off a few test shots. If there is any issue, ask your DM to wait a moment while you resolve them.
Always have the captain, a member of the dive shop, or your dive buddy hand you your camera after you jump in!
Here is a topic that we have to discuss even though it pains me to do so - what to do if your camera floods mid dive. Do not panic. You may still be able to save your camera. However, no camera is worth risking an accident, so don’t do anything drastic thinking that you might be able to get out of the water sooner. Abort the dive safely, then exit the water. Immediately remove the unit from the housing and inspect the leak. Place the camera in a dry bag and remove the battery and memory card. As soon as you get back to shore, fill the bag with rice and wait at least 24 hours before attempting to power the unit on.
During your safety stop, put on lens caps to protect your precious housing lens. If you have a wide angle dome attached, ensure you have a neoprene port cover with you. Install this before exiting the water. The safety stop can also be a fun time to shoot selfies with your dive buddies!
Cleaning and Storing Your Gear
Congratulations! You just wrapped up your first dive with your new UW camera. The fun continues after our dive - let’s see what we need to do to ensure we clean that bad boy off properly and protect your precious investment.
Salt water that remains on the housing will degrade the unit and decrease its lifespan. We need to wash it off right away. Your cooler will have freshwater in it, but when you get back to the shop, empty it out, rinse your camera using a freshwater hose, refill the cooler, and submerge your rig. Don’t put in the dive shops rinse tank if you can help it, but if it’s the only option, utilize it. Allow the camera to sit for 10 or so minutes. Never leave your camera unattended in the rinse tank. After you have let it sit, you’ll want to go to the camera and push all of the buttons, turn all of the knobs. Once you’ve cleaned it sufficiently, you can dry it off with a towel and pack it up to transport. Don’t ever leave your UW Photography gear at the dive shop overnight.
If you’re doing multiple dives, repeat the prep process that we started the night before this first dive. Clean your O rings, inspect your equipment, charge batteries, export photos, format memory cards, etc. One rule that Moziak UW Photography conveys is “Never drink and play with your underwater photography gear”. I’m a huge fan of this - feel free to play with your camera on it’s own if you feel ok doing that, but leave your housing and strobes out of it. You’re just asking to break, misplace, or forget something.
Editing Underwater Photographs
As a whole, editing your underwater photographs is a fairly similar process to editing any other photo. Again, make sure you shoot in RAW, and you’ll get maximum flexibility and options when editing your photos.
I use Lightroom and Photoshop to edit my photos, so in this section I’ll go over how to use those applications to edit yours. There are tons of other great photo editing applications out there - the concepts and adjustments you would use in a different application would be similar to what you would do in light room.
For a more in depth tutorial on using Lightroom to import, edit, organize, and export your photos, check out our Lightroom Online Workshop.
Basic Editing
Showing an editing workflow works best when you can see what is going on, so give the video below a watch if you want to see what my workflow looks like for editing an underwater photo.
Removing Backscatter
Quick Tips:
Lightroom: The spot removal tool is good for small, local removal of backscatter. However, if you have lots of backscatter to remove, it takes a long time.
Photoshop: The spot healing brush tool is an amazing tool for removing backscatter. Start big, then get to the smaller pieces.
You can also start with a Dust and Scratches filter and add a Gaussian Blur filter on top of it. Sometimes I like to use these in place of the spot healing brush, other times I like to use them as a follow up.
Practice, Practice, and more Practice
Have I said practice enough yet in this article? I’ll say it one more time - PRACTICE! It’s the key to honing your skills as an underwater photographer. It will take a lot of persistence and dives until you get comfortable with your skills, and even then, you’ll still feel like you have lots to learn. If you don’t have the luxury of living in a tropical dive destination, get out in your friends pool or a local lake and do some shooting. Much of what makes UW Photography difficult is the workflow and effort that goes into simply getting into the water. Once you master this, you can then focus on what you came here to do - take pictures.
This is the first underwater photo I took (left) compared to one from our most recent dive trip (right). Keep up the hard work - improvement doesn’t come overnight, but the more time and effort you put in, the better you’ll get!
Continuing Education
There is always something new to learn when it comes to photography. Here at Fantasium we provide tons of additional resources, including free resources, online photography workshops, one on one tutoring, and best of all, guided photography trips.
Additional Fantasium Resources:
Online Photography Workshops:
Online Photography Articles:
Additional External Resources:


